Windows
This section of the operations guide covers all the windows in the WILLIAM software, what they are for and how they are used.
Main window
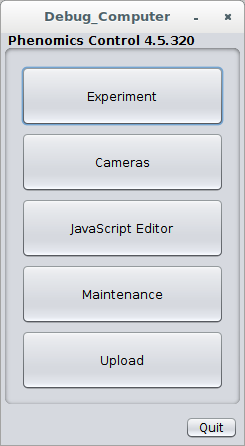
You'll notice a few things different about yours:
- The title of the window is the name of the chamber. This one is the dev's work computer. Yours will probably be different.
- Your version number (here shown as 4.5.319) may be different.
Experiment window
Press  to get to the experiment window.
The experiment window, unlike other windows, comes in three forms depending on the state of the system:
- An idle state
- A pre-experiment state
- A during-experiment state
Idle
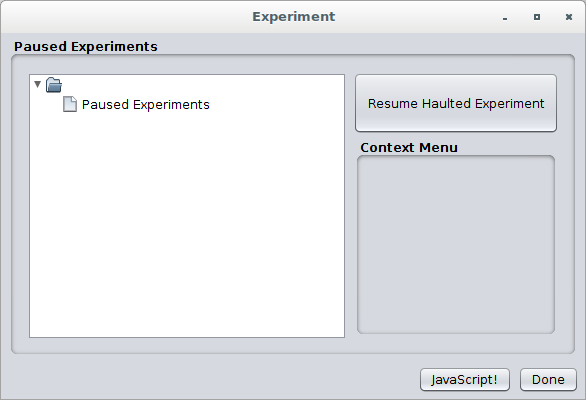
This window will display any previously haulted experiments or scripts. You can select each for more information.
You can resume haulted experiments from this window. Click on the experiment you want to resume to get the context menu.
Pre-experiment
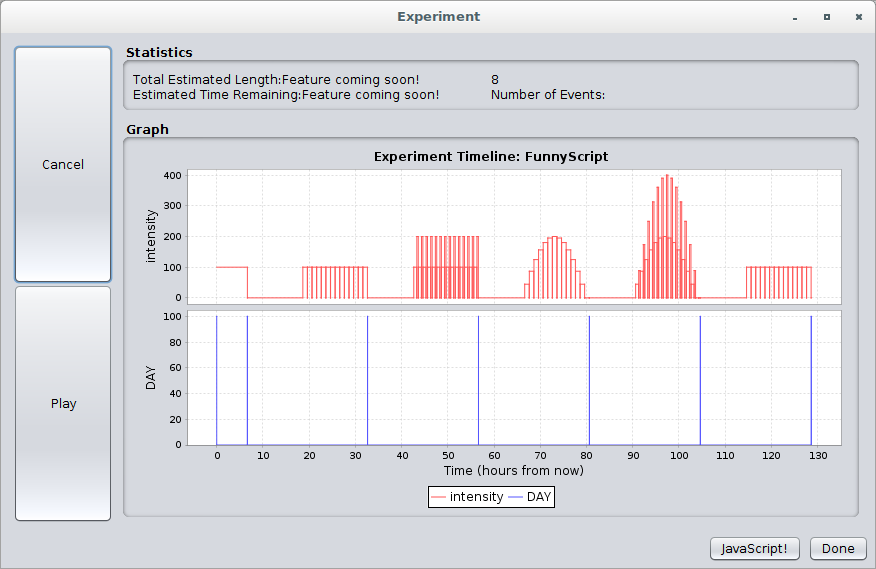
This window will show up when you have a potential experiment, one you can run but have not yet started. The graph shows environmental conditions throughout the entire experiment to be run.
The two big buttons on the left let you choose to cancel or run the potential experiment. You can select areas on the graph by left click dragging to zoom, and right click to gain more options. Auto-range will zoom out.
During-experiment
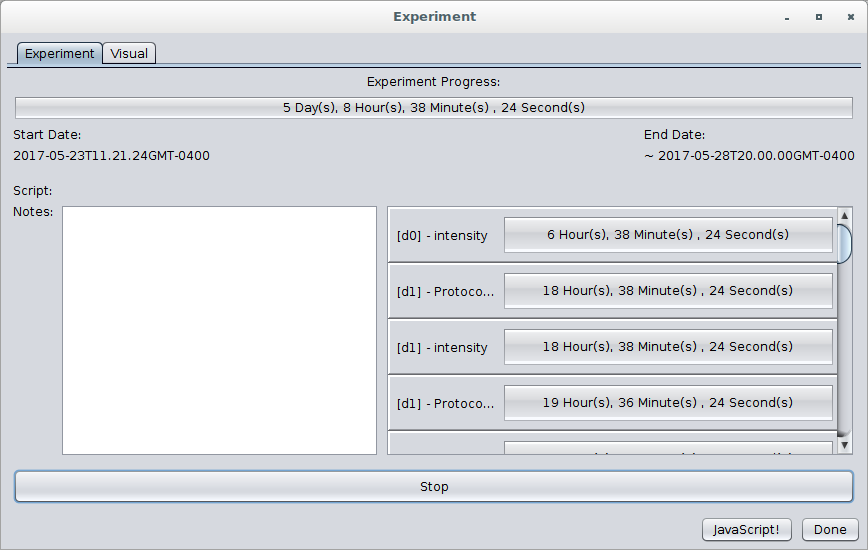
Finally, this is what you see while an active experiment is running. You can stop the experiment with the button at the bottom (it can be resumed later!). The bars on the side show the progress towards the next event of each type.
Cameras window
Press  to get to the cameras window.
You'll get a window that looks like this:
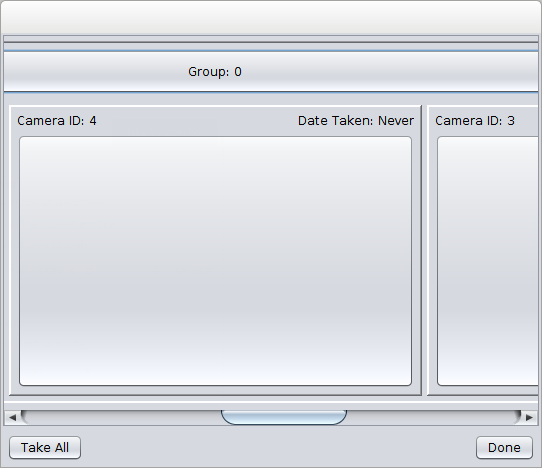
You can drag and resize the window as screenspace allows, and scroll left/right between cameras. To capture an image set click the large button under the camera ID you want captured, or click the button (here labled Group: 0) to capture all cameras in that group, or click  to take images on all attached cameras.
Once captured, the images will show up on top of the button for each camera. You can refresh to take another set at any time.
It is advised you NOT use this window during an active experiment! It runs independently from a script, and is not guaranteed to not conflict. That feature is, however, coming soon.
Javascript Editor
Press  to get to the Javascript Editor.
You will get a window that looks like this:
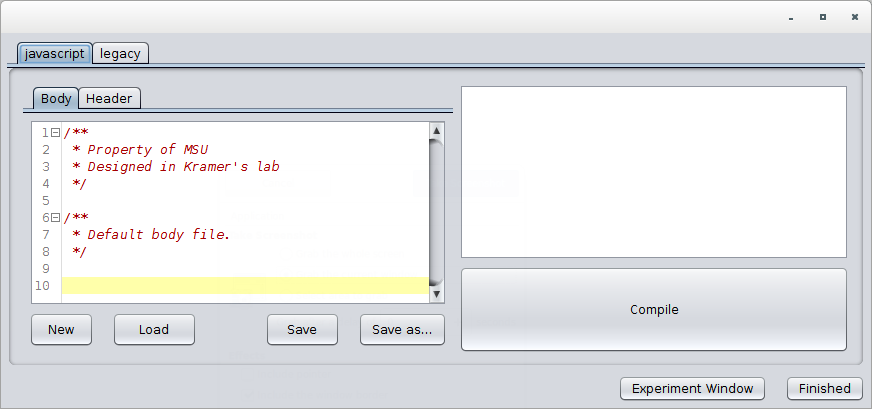
This one is pretty big, and has a LOT of features. We'll start from the top and move down.
There are two tabs at the top, javascript and legacy.
Javascript
That's the tab open in the example, and the default tab when you open this window.
On the left side is the script editor: select between the script body and header with the tabs. Save, load, new, and Save As... work as you'd expect, and are independent between the body and header tabs.
On the right is the script compiler. Pressing Compile will compile the script into a timeline, showing any warnings or fatal errors in the (shown as blank) textbox above.
When you compile a script, every event is checked against the hardware configured to the system, and a window will pop up telling you any events that cannot be run and why. The experiment window will switch to pre-experiment mode, and will automatically open.
Legacy
This tab is for the old script format used by CAAPP PRL. Usage of old scripts is a supported feature and these scripts will compile correctly, saving to the same format as javascripts. All buttons work identically to javascript mode.
However, writing these scripts is not covered, nor is there a database of them.
Maintenance window
Press  to get to the Maintenance window.
This window gives you information about the chamber currently running and allows manual environmental settings/commands. There are three tabs in this window:
Overview
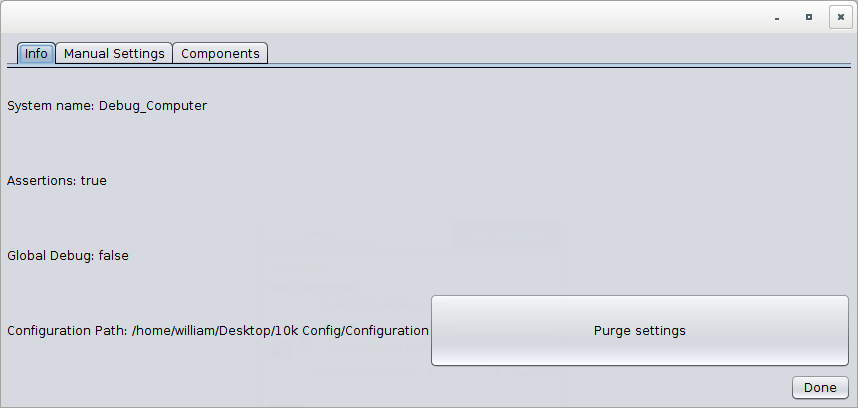
From here you can see general characteristics of the currently running system.
Of importance, you can purge the settings from your computer for a fresh installation. Note that your configuration will not be purged, the system will simply forget where it is.
Manual Settings
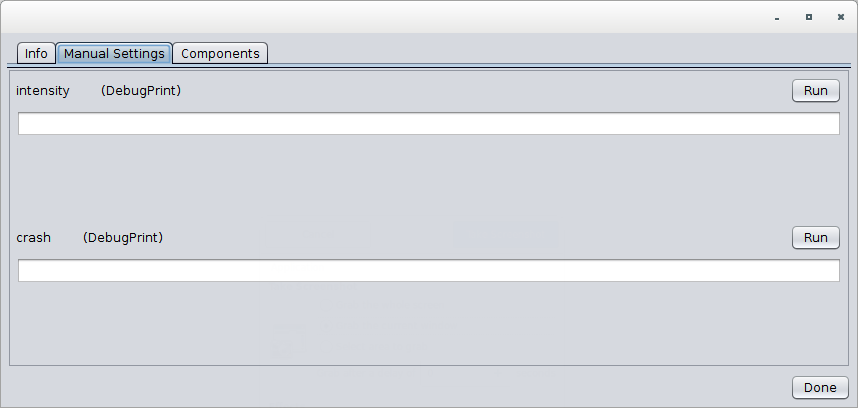
This window lets you manually set environmental conditions within the chamber.
Every Driver in the chamber will show up with it's own field within this window. Entering input and then clicking Run will execute the command typed into the text field in the driver. For example if you put 100 into the intensity field above and hit run, the chamber would set the lights to 100 lumens.
This window is not guaranteed to work as intended when there is an active script running!
Components
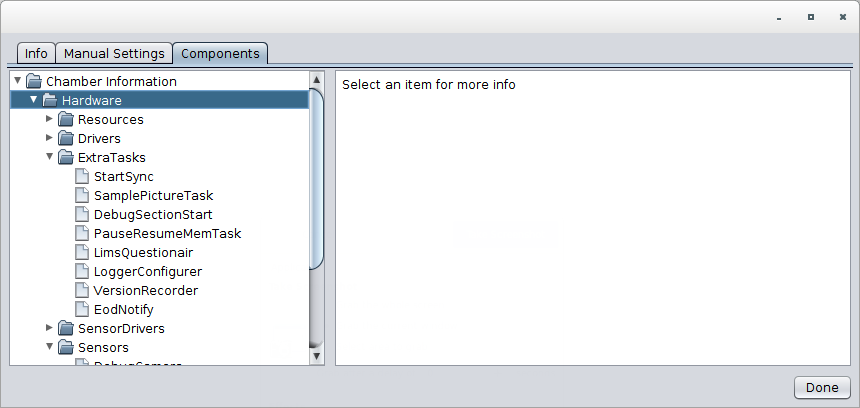
This window shows all loaded components that the system has loaded, as well as all those that it supports. The Hardware tabs has loaded modules, and the Software tab has supported modules.
Clicking on any loaded module will provide more information about it. Many of them have full descriptions of what they do.
Upload window
Press  to get to the Upload window.
You'll get here:
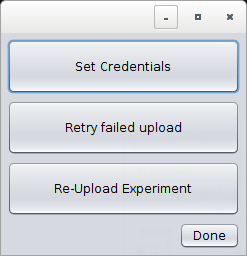
This window lets you deal with the upload capabilities of the chamber. You can set the credentials it uses, re-attempt previously failed uploads, or upload entire experiments from scratch with the various buttons provided.